Live Facial Casting Project by Dan & Lydia
Prepare with:
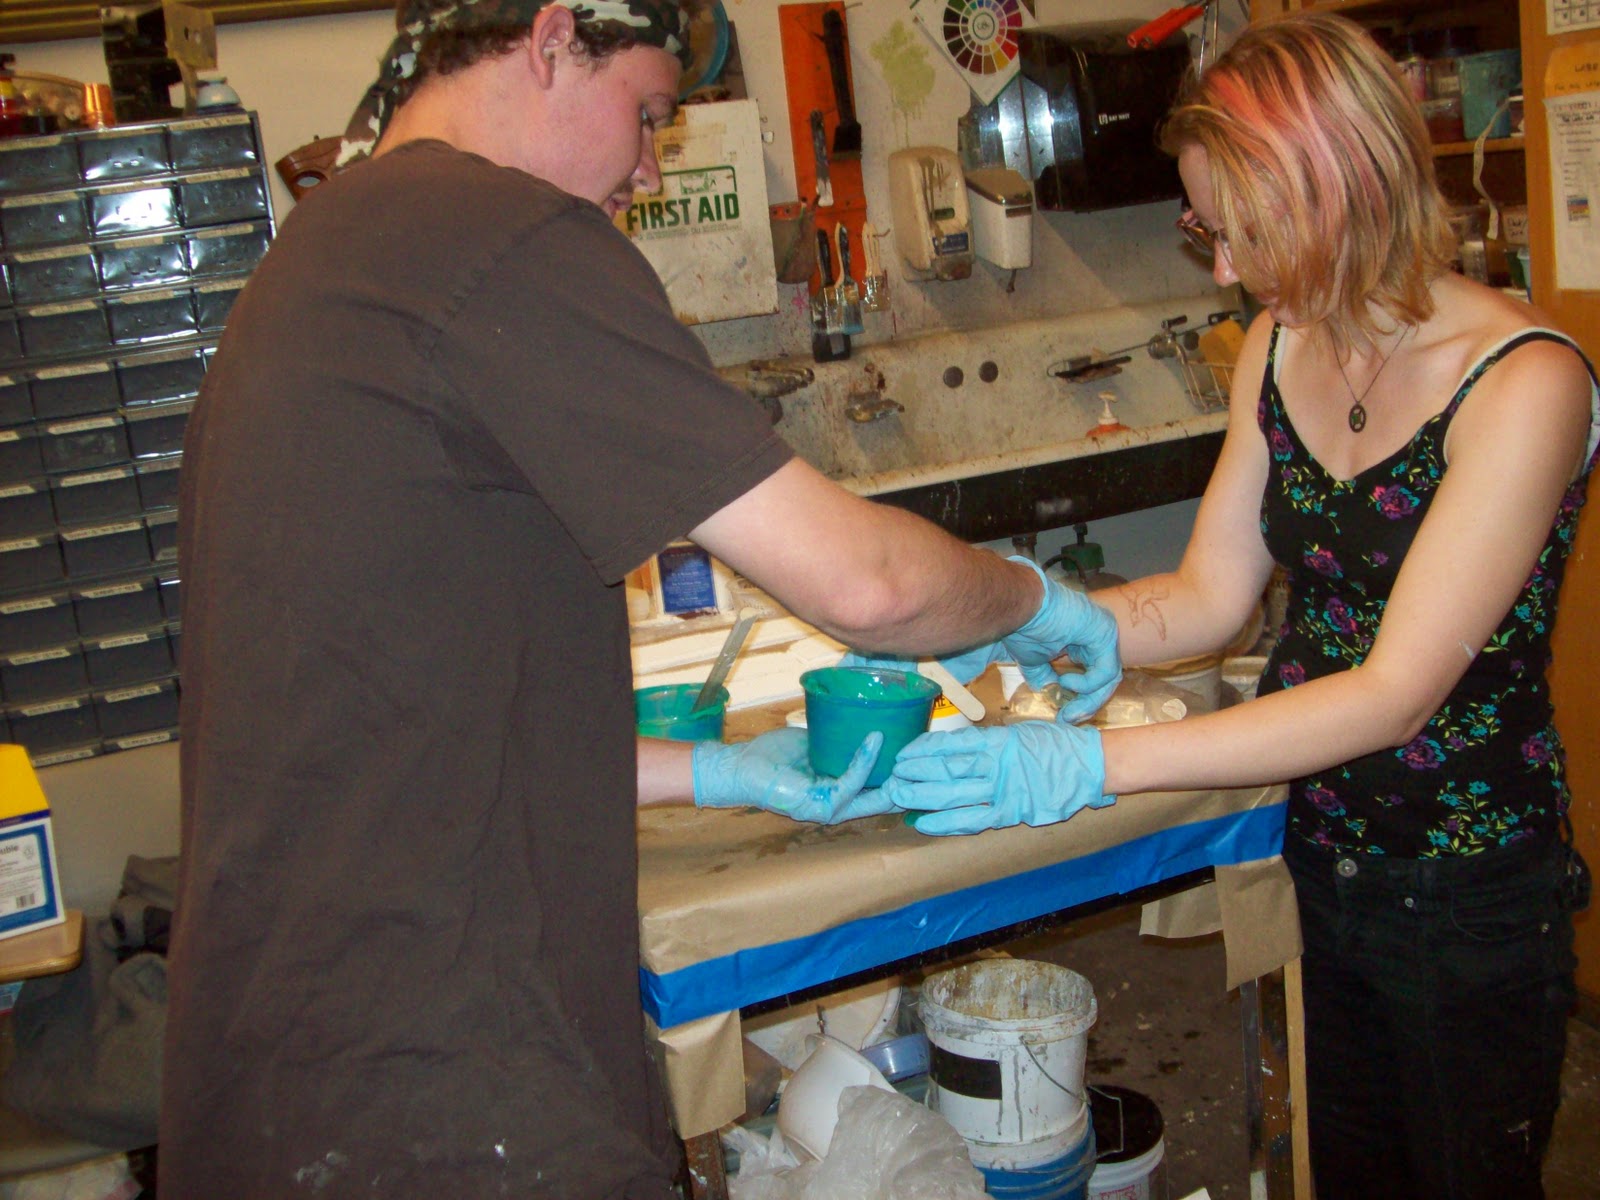
Vinyl Gloves
Body Double Fast or Standard set by Smooth-on
Body Double release Cream or Vaseline
Bald cap
Straws
Bobby Pins
Unused paint Brushes
Plastic measuring cups
Plaster Strips
Warm Water
*How many technicians does it take to cast someone's face? 2 Seriously: Do Not Do it Alone.
Step 1. Thoroughly discuss your project with your subject. Be sure that they understand the entire process of what is about to happen beforehand. Remind them that if they cannot breath to immediately remove the mask of the mold. It will peel off easily with mold release. Let the subject decide how they would like to be ventilated either through the nose or the mouth. It is technical courtesy. Either way the mold is done the ventilation holes will be filled with extra body double at the end of the process.
*If the nose is chosen NO STRAWS should be used. Shoving straws up peoples noses causes bloody noses which cannot be breathed through.
*The mouth however, REQUIRES a fresh STRAW.
Step 2. The subject should wash their face before getting started. If it is not a whole head matrix and the subject has long hair pull it back. Cover their hair with a bald cap and secure with bobby pins. Next apply the mold release using the brushes (not your oily hands). Let the subject apply thoroughly around their eyes including lids. Apply more heavily around the eye brows.
Step 3:
Mix a 1:1 ratio of parts A and B of the body double. *Standard Set Mixes Pink and Blue to Make Purplse *Fast Set Mixes Blue greens to turquise
Quanity: The trial size kit is enough for 1 full head matrix. So use at least 1/2 of the mix kit if you are just doing the face of a subject. Be generous in ensuring that your mold is strong.
Time: For Body Double Standard: It's 5 minutes working time and a demold time of 20 minutes. Body
Double "Fast Set" for fast working time of 90 seconds and a demold time of 5 minutes.
What is Work time: The amount of time in which the product is ideal for application
What is Demold Time: When you can remove the mold
What is Cure Time: the time it takes the silicon to cure completely
*If you are using the "Standard set" you may mix a larger amount at once. You may also have the luxury of double pouring your mix between the two measuring cups you are working with. This helps to prevent mixing errors whilst spreading an even coat of silicon on the cups. Once the cups dry the body double will easily peel off of the plastic.
Why Use Standard?: The Standard set is ideal for larger facial areas and projects, but Not Uneven surfaces.
*If you are mixing the "Fast Set" use smaller portions! Your body double will be drying to fast all at once. You have 90 seconds to apply! Use small amounts and continue to tack on more. The fast set is more ideal for uneven areas and small areas. It is possible to use it over the entire face as we demonstrate if these photos. However, we were simply using what was available not what was ideal.
*Ideally a facial mold or head mold would have both Standard and Fast Set within the mold. First the Fast set would create a firm foundation around difficult areas to work with in which the Standard set will have to be tended with popsicle sticks. The fast set is the thicker silicon. Then layering the Standard thinner silicon on top and downwards along the sides of the face and mouth.
Step 4: Smudge and smear it as gently and quickly as you can. Keep a constant watch on the subjects behavior and air holes.
Step 5: As the silicon sets begin to prepare your plaster strips.
Step 6: Apply the plaster strips evenly around the face.
Step 7. The plaster will create a warming reaction. Once the Plaster is Dry about 15 minutes Remove the plaster mask from the face.
Step 8. Remove the body double seperately once it has reached the DEMOLD TIME. It should peel off fairly easily, but be cautious not to tear thinner areas of the mold.
Step 9: Touch up breathing areas by mixing small amounts of body double to fill in the gap.
Step 10:Allow the body double to set inside of the plaster mold until it has reached its Cure Time. My work here is done.
Cast with Dragon Skin from mold above by Dan Lyon.


