Thursday, October 13, 2011

Rubber Glass II for Glass and Ice Effects


Rubber Glass II is a product of smooth-on.com. It is a silicon rubber used to mimic ice and glass. It is a bouncy, ripable substance. It is NOT to be used as a breakable like candy glass. However, it can be used to create the effect of broken glass. Rubber glass rips/crumbles apart easily.

Safety First:
Use a Respirator that is
"OSHA respirator regulations 29 CFR 1910.134 and European
Standard EN 149; wear an MSHA/NIOSH or European Standard EN149 approved respirator." Official MSDS

Also wear vynel gloves and safety googles.
Rubber Glass is a Tin based silicon. Do NOT use it with platinum based silicons. This will cause a chemical reaction which will not yield the product you want.

Compatible Molds & Mold Products:
Oomo (all kinds) by smooth on
Mold Max 20 by smooth on
An Ice Tray
Create a mold with a object for an ice scuplture, replicate diamods or ice art. With an home made mold use one of the above silicon products to create. Prep the mold with a pour spout and small air escape hole. If you want quick ice cubes use a regular ice tray. Prepare your mold with All Purpose Mold Release or Mold Release 200.

Rubber Glass II comes in a trial pack with four bottles. 3 are Part A and 1 is part B.  The mix ratio is 3 Part A : 1 part B. At a quick glance it may be good to use your bottles all at once. However, if you are making a small project and want to conserve your silicon for later, use one A bottle at a time. Rubber Glass II is a sensative silicon when exposed to temperature. After leaving some leftovers in open bottles in cold weather and then pouring samples, I discovered my second batch of ice cubes were very different from the first.

 On the Left: Batch 1: It is a very clear and crisp turn out. It crumbles easily, leaving angled rips.
On the Right Batch 2: Somewhat cloudy and more rubbery feeling ice cube. It rips easily, but with rounded rips.


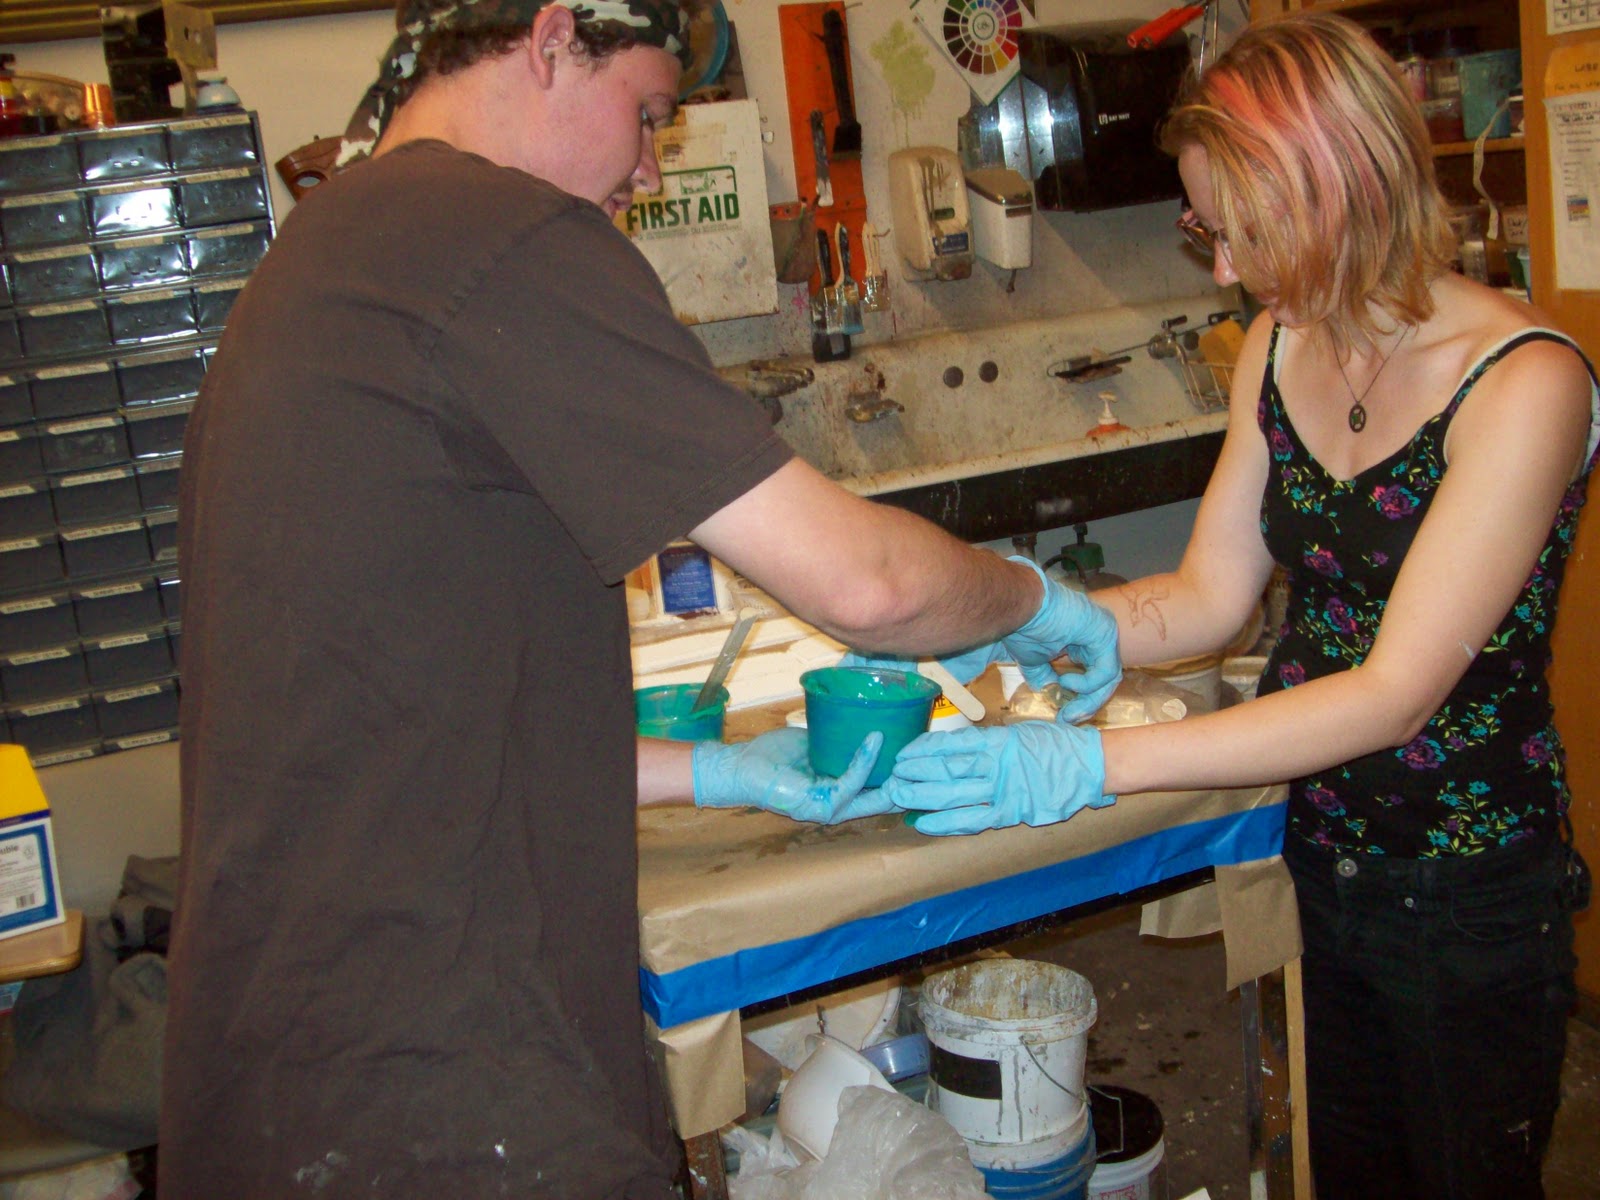
Mix thoroughly but not to quickly. Fold the clear silicon into the more liquidy part B instead of stirring. Gently pour into mold. Tap out air bubbles if possible to cause them to rise out of the escape spout. Let set. Cure Time is 16 hours. Pourly mixed silicon will NEVER cure and will be gooey. However, will careful measurements Rubber Glass II is predictable and lovely.


Saturday, October 8, 2011

Live Face Casting: Body Double

Live Facial Casting Project by Dan & Lydia

Prepare with:
Vinyl Gloves
Body Double Fast or Standard set by Smooth-on
Body Double release Cream or Vaseline
Bald cap
Straws
Bobby Pins
Unused paint Brushes
Plastic measuring cups
Plaster Strips
Warm Water

*How many technicians does it take to cast someone's face? 2 Seriously: Do Not Do it Alone.

Step 1. Thoroughly discuss your project with your subject. Be sure that they understand the entire process of what is about to happen beforehand. Remind them that if they cannot breath to immediately remove the mask of the mold. It will peel off easily with mold release. Let the subject decide how they would like to be ventilated either through the nose or the mouth. It is technical courtesy. Either way the mold is done the ventilation holes will be filled with extra body double at the end of the process.

*If the nose is chosen NO STRAWS should be used. Shoving straws up peoples noses causes bloody noses which cannot be breathed through.

*The mouth however, REQUIRES a fresh STRAW.

Step 2.  The subject should wash their face before getting started. If it is not a whole head matrix and the subject has long hair pull it back. Cover their hair with a bald cap and secure with bobby pins. Next apply the mold release using the brushes (not your oily hands). Let the subject apply thoroughly around their eyes including lids. Apply more heavily around the eye brows. 

Step 3:
Mix a 1:1 ratio of parts A and B of the body double. *Standard Set Mixes Pink and Blue to Make Purplse *Fast Set Mixes Blue greens to turquise

Quanity: The trial size kit is enough for 1 full head matrix. So use at least 1/2 of the mix kit if you are just doing the face of a subject. Be generous in ensuring that your mold is strong.

Time:  For Body Double Standard: It's 5 minutes working time and a demold time of 20 minutes. Body
Double "Fast Set" for fast working time of 90 seconds and a demold time of 5 minutes.

What is Work time: The amount of time in which the product is ideal for application
What is Demold Time: When you can remove the mold
What is Cure Time: the time it takes the silicon to cure completely

*If you are using the "Standard set" you may mix a larger amount at once. You may also have the luxury of double pouring your mix between the two measuring cups you are working with. This helps to prevent mixing errors whilst spreading an even coat of silicon on the cups. Once the cups dry the body double will easily peel off of the plastic.

Why Use Standard?: The Standard set is ideal for larger facial areas and projects, but Not Uneven surfaces.

*If you are mixing the "Fast Set" use smaller portions! Your body double will be drying to fast all at once. You have 90 seconds to apply! Use small amounts and continue to tack on more.  The fast set is more ideal for uneven areas and small areas. It is possible to use it over the entire face as we demonstrate if these photos. However, we were simply using what was available not what was ideal.

*Ideally a facial mold or head mold would have both Standard and Fast Set within the mold. First the Fast set would create a firm foundation around difficult areas to work with in which the Standard set will have to be tended with popsicle sticks. The fast set is the thicker silicon. Then layering the Standard thinner silicon on top and downwards along the sides of the face and mouth.


Step 4: Smudge and smear it as gently and quickly as you can. Keep a constant watch on the subjects behavior and air holes.
Step 5: As the silicon sets begin to prepare your plaster strips.  

Step 6: Apply the plaster strips evenly around the face.
Step 7. The plaster will create a warming reaction. Once the Plaster is Dry about 15 minutes Remove the plaster mask from the face.


Step 8. Remove the body double seperately once it has reached the DEMOLD TIME. It should peel off fairly easily, but be cautious not to tear thinner areas of the mold.


Step 9: Touch up breathing areas by mixing small amounts of body double to fill in the gap.

Step 10:Allow the body double to set inside of the plaster mold until it has reached its Cure Time. My work here is done.

Cast with Dragon Skin  from mold above by Dan Lyon.


Wednesday, October 5, 2011

Burn & Brush Texture

You will need:
An Oxy-Acetylene rig (one tank Oxygen and the other Acetylene gas connected to a wand)
Flint Striker
Bottle of water to extinguish flames
Fresh soft pine
Wood glue
Drywall screws
Wooden Buttons
Wire Brush
Dish Soap &Water with rag
Clear coat finish
Off white paint

Whilst building a project that is about to be burnt and brushed keep two things in mind: 1. No chemicals. No bondo, no spackle or any other gap fillers. Also stick to simple wood glue adhesive. You do not want fumes coming off of your project. Therefore, Build it perfect. 2. Use clean, soft wood. I used fresh pine. Do not try this with masonite, plywood, MDF or any other wood which contains adhesives.

Once your project is assembled be sure to cap off the hardware with wood buttons. Let dry. Prepare your acetylene tank by checking the pressures of your gas and oxygen. Make sure you have enough in the tanks to complete your project. Also double check the hose making sure it is free of leaks. Set aside a water bottle to extinguish flames if needed.

Prepare yourself safely. Wear heat rated gloves and durable, non flammable clothes. Your clothing will get stained with soot so wear work clothes. Cover your hair with a cap of some sort or pull it back. Wear tinted safety goggles, the kind rated at least #5 for torching or a welding shield will work. 

You should have two hoses connected to the wand one red and one green.Turn on the gas first use a flint striker to light the torch. Then add the oxygen.  Turn up the oxygen until the wand turns from flames to small, visible blue cones, like the picture below.
Wave the wand lightly over the wood. It will turn crispy black, this is ok! Small fires will start and most likely put themselves out, but if there is extensive burning in one area, extinguish it.

Burning shit is fun!

Next take your wire brush and brush off the entire project clearing off the charred ashy areas. The softer wood which burned, will lift off the stronger wood. The younger wood from the tree is what has burned off the surface.
Wash your project with dish soap and water. This helps seal in the soot while removing excess ash. Let dry.  

Take a clear coat finish and mix it with about a teaspoon of off white paint. Apply it to your entire project as a protective seal. Keep a dry brush handy to remove excess paint. Your texture may get cloudy if you do not do this.
In the photo above I added a sheet of masonite after the burn and brush was complete. I painted it to match the texture. Below is the final picture with set dressings, which in this case was food.

Tuesday, October 4, 2011

Fun with Fake Food & FEV

Cherry Pie Prop  
Recipe:
Model Magick (big white tub available at Hobby Lobby to shape the lattice crust)
Rubber Grapes
Expanding Foam
Hot Glue
FEV (French Enamel Varnish)
Paint
Interior paint Clear Seal


So I took a cheap empty pie pan and filled the bottom with expanding foam. I then picked some less then desirable looking fake rubber grapes to pluck from their bunch and sprinkle on top of the wet expanding foam. Let dry in a well ventilated area.

I painted the grapes and pink expanding foam a bright cherry red. Let dry. Then I drizzled Hot glue all over the top of the cherries to make them look glassy. I then took some red FEV (French Enamel Varnish)

Recipe for FEV:
1 part denatured alcohol
1 part shellac
Drops of Leather dye for color


*FEV is awesome at leaving a shiny coat of color on objects when it dries. Here is an example of a punch bowl we have in stock which was colored with FEV. NO REAL FOOD should ever be exposed to a surface with FEV, but it's great for faking liquids and sugar syrup.


I used the model magick by rolling it out like pie dough. Then I used sheers to cut the shape of the lattice. Once the model magick dried I used three varieties of accrylic color one amber, one beige and one brown to color the crust. I then sealed the prop with clear coat seal. tah dah!